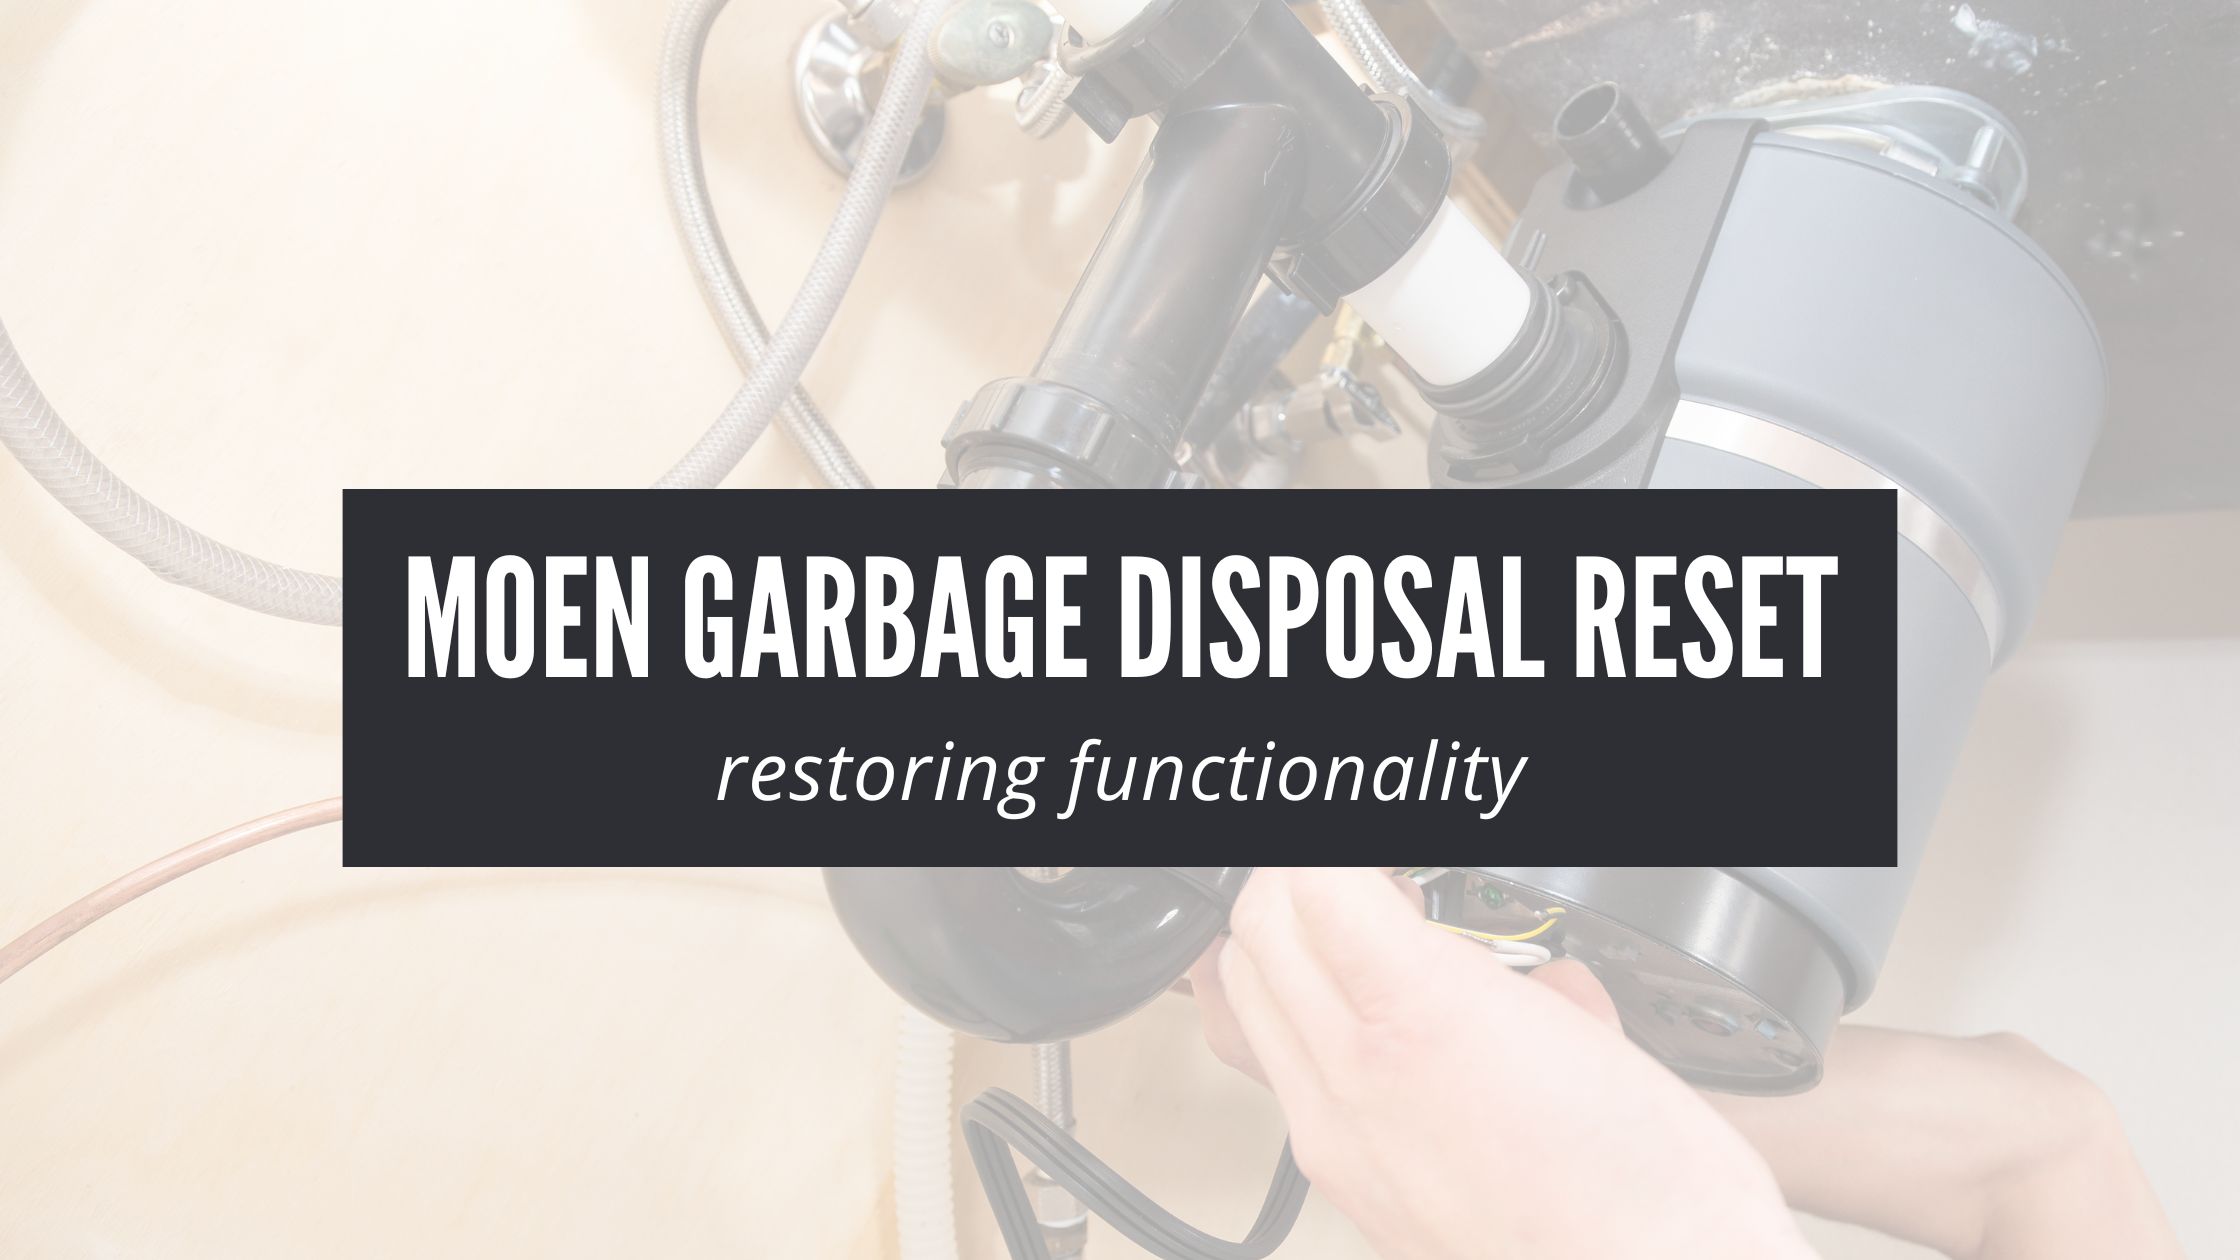
In the bustling heart of your kitchen, your trusty Moen garbage disposal tirelessly chews away food scraps, making cleanup a breeze. And when you pair it with a dishwasher, it can even easier! However, just like any hardworking appliance, it might occasionally hit a bump in the road. So, if you’ve ever found yourself in a situation where your Moen garbage disposal isn’t performing as expected, don’t fret! We’re here to walk you through the art of the Moen garbage disposal reset, a simple yet highly effective process that can breathe new life into your kitchen companion.
In this guide, we’ll take you through the essential steps for performing a Moen garbage disposal reset, a versatile technique that forms the cornerstone of troubleshooting.
Understanding Your Moen Garbage Disposal
Before we dive into the reset steps, let’s briefly understand how a Moen garbage disposal works. These units are designed to grind up food scraps and flush them away, keeping your kitchen clean and odor-free. However, like any mechanical device, they can encounter hiccups. Fortunately, many of these issues can be resolved with a simple reset.
How to Reset a Moen Garbage Disposal
Performing a general reset on your Moen garbage disposal is the first step in troubleshooting common issues, so it’s important to know what you’re doing. Here’s a step-by-step guide:
Step 1: Turn Off the Garbage Disposal
Before you begin any troubleshooting, it’s crucial to ensure the Moen garbage disposal is completely powered off. This step helps prevent any accidental activation of the disposal while you work on it.
You can achieve this by finding the power switch dedicated to the disposal or by safely unplugging it from the electrical outlet. It may seem overly cautious, but don’t be tempted to skip this step – you should always prioritize safety while working with appliances.
Step 2: Push the Reset Button
The reset button is a small, often red or black button located near the bottom of the garbage disposal unit. It serves as a built-in circuit breaker or overload protector, so when the disposal experiences an overload or jam, this button may pop out, indicating a disruption in its normal operation.
To reset the unit, simply locate the reset button and push it firmly. If you’re unable to do so with your finger, then you may need to use a small tool, like a screwdriver or Allen key. This action effectively resets the internal breaker and readies the disposal for operation.
When you’ve finished, turn the garbage disposal back on to see if it works. If it does, then great! If not, then proceed to the next step.
Step 3: Check for Jams
If the reset button on your Moen garbage disposal doesn’t retract, then your next step is to investigate the disposal for any potential jams or blockages (after turning it back off, of course). Jams occur when foreign objects or debris obstruct the disposal’s rotor, preventing it from turning smoothly and leading to grinding issues. By inspecting for jams at this stage, you can identify and address any underlying problems.
At this stage, it’s often a good idea to grab a flashlight to gain a better view into the disposal through the sinkhole. So, with a flashlight in hand, check for any objects or debris that may be obstructing the rotor’s movement. Some of the most common culprits to look for include hard food items, small utensils, or foreign objects accidentally dropped into the disposal.
Step 4: Remove Blockage and Obstructions
If you discover a jam or blockage during your inspection, it’s crucial to remove it carefully. But before doing so, double-check that the power is off – you can’t be too safe here!
Once you’ve verified that there’s no power to the garbage disposal, then you can proceed to cautiously remove the object(s). Some of the best tools for this job are needle nose pliers or tongs.
Step 5: Check That the Impellers Can Move Freely
Now that you’ve removed the blockage, you should verify that the impellers can move freely again. For this step, simply use Moen’s un-jamming wrench or a wooden spoon to push up against an impeller. This should allow you to rotate the turntable by hand.
Continue rotating until you complete a full revolution (clockwise or counterclockwise), indicating that there are no longer any restrictions in movement.
Step 5: Reset and Start the Disposal
With the reset button pushed, any jams cleared, and obstructions removed, it’s time to press that reset button once again and power the Moen garbage disposal back on. This action should restore the unit’s normal functionality, allowing it to grind food waste efficiently and maintain smooth operation.
Tips to Prevent Jams
Maintaining a smoothly functioning garbage disposal isn’t just about knowing how to reset it when issues arise; it’s also about taking steps to prevent those issues in the first place. By following these proactive measures, you can minimize the chances of disruptions and ensure your disposal operates trouble-free.
- Avoid Hard Objects: Refrain from disposing of hard objects like bones, fruit pits, or large shells. These items can cause jams and damage the disposal’s blades.
- Use Cold Water: Run cold water while operating the disposal and for a short time afterward. Cold water helps keep oils and fats in a solid state, preventing them from clogging the disposal.
- Cut Food into Small Pieces: Cut large food items into smaller pieces before placing them in the disposal to reduce the risk of jams.
The Bottom Line
Resetting a Moen garbage disposal is a straightforward process that can help you address common issues such as jams. By following these steps and taking preventive measures to avoid jams, you can ensure your disposal operates smoothly and efficiently, making meal cleanup a breeze.
Remember, always prioritize safety throughout the reset process by turning off the power before any troubleshooting or maintenance. With the knowledge and confidence to perform a Moen garbage disposal reset, you can keep it in excellent working condition and enjoy a hassle-free kitchen experience.
Need a new Moen garbage disposal? Find your perfect fit here.

